Behind The Scene: Real Flower Jewelry Handmade Process
Nature's beauty is unparalleled, and what better way to celebrate it than by turning delicate flowers into wearable art? Let's delve into the processes making real flower jewelry.
Creating real flower jewelry is a delicate and artistic process that involves preserving the natural beauty of fresh flowers. Here's a step-by-step guide on how to make real flower jewelry using the materials we've listed:
Step 1: Selecting Fresh Flowers Begin by carefully choosing fresh flowers with vibrant colors and sturdy petals. Different flowers may require various drying techniques, so choose the ones that best suit your design.
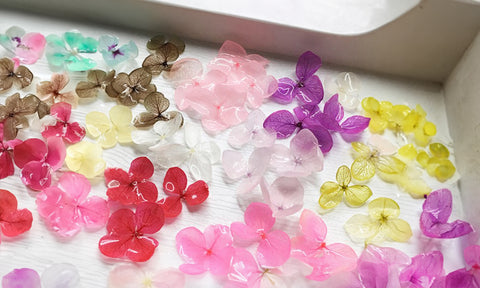
Step 2: Drying the Flowers with Silica Gels Gently remove excess moisture from the selected flowers to prevent them from wilting. Place the flowers in a container filled with silica gels, ensuring they are completely submerged. Silica gels will gradually absorb the moisture from the flowers, preserving their shape and color. This process may take several days to a week, depending on the size and moisture content of the flowers.
Step 3: Preparing the Resin While the flowers are drying, prepare the resin mixture according to the manufacturer's instructions. Make sure to work in a well-ventilated area and wear appropriate safety gear, such as gloves and a mask, as resin can be toxic in its liquid form.

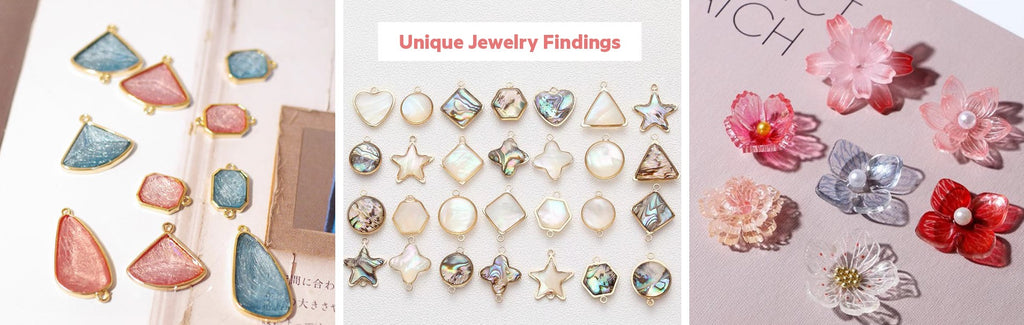
Step 4: Assembling the Jewelry Findings While waiting for the flowers to dry, gather the jewelry findings you plan to use, such as earring hooks, necklace chains, or bracelet clasps. Ensure they are clean and ready for assembly.
Step 5: Arranging the Dried Flowers Once the flowers are fully dried and have a papery texture, carefully arrange them on a clean surface in the desired jewelry design. You can experiment with various layouts to achieve the look you want.
Step 6: Applying the Resin Layer Using a fine brush or a dropper, gently apply a layer of resin over the dried flowers. Make sure to cover them evenly, and be cautious not to over-saturate the flowers, as excess resin can lead to a cloudy finish.
Step 7: UV Curing To expedite the curing process, use a UV light source to dry and harden the resin. Place the jewelry pieces under the UV light for the recommended duration, usually a few minutes per side. Ensure that all areas are exposed to the UV light to achieve a clear and glossy finish.
Step 8: Final Touches Once the resin has cured and your real flower jewelry is solid and transparent, you can attach the jewelry findings you prepared earlier. Attach earring hooks, necklace chains, or bracelet clasps to complete your unique floral jewelry pieces.
Step 9: Finishing and Quality Check Inspect your jewelry for any imperfections or air bubbles in the resin. If necessary, you can sand and polish the surface to achieve a smooth finish. Once you are satisfied with the final result, your real flower jewelry is ready to wear or share with others, showcasing the natural beauty of the preserved flowers in a stunning and personalized accessory.
Shop our Real Flower Collection, use this link
Creating real flower jewelry is indeed a work of art that requires skilled craftsmanship and attention to detail. The amount of manpower needed depends on the scale of production and complexity of the designs. For small-scale, handcrafted pieces, a team of skilled artisans with expertise in flower preservation, resin application, and jewelry assembly may work collaboratively to bring these intricate creations to life, ensuring that each piece is a unique and stunning work of art that captures the beauty of nature.